Smart Scheduler Links allow you to share links with others that they can use to schedule meetings on your calendar at their convenience. This feature is provided by Read for free to all users, regardless of their plan. No more back-and-forth emails or frustrating scheduling conflicts. Simply send your Smart Scheduler link and watch your meetings fall into place, freeing up your time for more important tasks.
You can find and configure your own Smart Scheduler Links on the following pages:
- Calendar > Scheduling: Find and manage all of your scheduling links. Read generates several scheduling links by default for different meeting lengths, and also lets you create custom links.
- Account Settings > Smart Scheduler: Manage higher-level settings that affect all of your links.
What makes Smart Scheduler Links "Smart"?
Read Smart Scheduler uses AI to analyze your calendar and nudges others to book in optimal meeting slots by marking certain times as "recommended":

It does this by analyzing your past meeting data to identify times when you typically have high engagement and punctuality. It also prefers to recommend times that don't impede your own focus time. In other words, it encourages scheduling meetings immediately before or after other meetings on your calendar to maximize your periods without meetings.
Configuring your Smart Scheduler settings
Go to Account Settings > Smart Scheduler to enable Smart Scheduler Links and configure them to your preferences. There are several important settings on this page:
- The Smart Scheduler Links toggle turns your links on or off for your Read account. When they're off, the Scheduling tab on your Calendar page shows an Enable button instead of your links. If turned off, any links that you previously shared with people will be disabled (but meetings that were already booked will remain).
- Scheduling Calendar (Google Calendar or Outlook Calendar) is the calendar used to find your availability and schedule events.
- Custom URL (cal.read.ai/ followed by your name; click Edit to change it) lets you choose a custom URL rather than the one Read automatically generates for you. You can use any combination of letters, numbers, underscores (_), and hyphens (-) in your custom URL, as long as the URL is not already taken by another user. If you change this, it will break any links that were shared with your old URL.
- Calendar & Availability lets you optionally turn on Available hours (by weekday; Monday to Friday, 6:00 AM to 5:00 PM by default) to set the times you want to allow people to book during. If this is turned off, people can book you at any time of the day and day of the week that is not already "busy" on your calendar. You can also turn on Minimum notice for scheduling, so that people can't book you for a meeting too soon in the future.
- Default conferencing platform is where you pick which video conferencing platform (Zoom, Google Meet, or Microsoft Teams) you want to use for your scheduled meetings, or you can choose Let recipient choose so the person scheduling the meeting picks from whatever is available. Certain options will be disabled if you don't have the corresponding calendar integration set up (for example, you need to connect your Zoom account to schedule meetings on Zoom).
Changing your time zone
To change the time zone for your Smart Scheduler links, follow the steps in this demo:
Using multiple calendars
Smart Scheduler Links can only use one of your calendars, both for scheduling meetings and for determining your availability. If you have multiple calendars connected to Read (for example, both Outlook and Google Calendar), choose which one to use as your default calendar. This default calendar is used to display availability, schedule meetings, set available hours, and determine your time zone. On Calendar > Scheduling, "Scheduling based on" shows which calendar is used, with Change Calendar and Scheduling Settings links. You can also pick it under Scheduling Calendar on Account Settings > Smart Scheduler.
To set your default calendar:
- Go to your Integrations page.
- Click the calendar integration you want to use on the left.
- Click Set as default calendar on the right.
Managing your links
If you have Smart Scheduler Links enabled, Read generates 5 links for you by default: 4 links for preset meeting lengths (15/30/60/90 minutes), and one base link that includes all the default options and lets the recipient choose. You can find and manage these links at Calendar > Scheduling.
You can also copy the base link from the Smart Scheduler Link section of the left-hand menu in Read (click the arrow next to Copy link to pick Any duration, 15-minute, 30-minute, 60-minute, or 90-minute; Manage opens the Scheduling tab on your Calendar page). You can also copy it from the Scheduling Link section of Read's browser extension (click Copy, or Manage to open your links).
From the left-hand menu in Read:

From the browser extension:
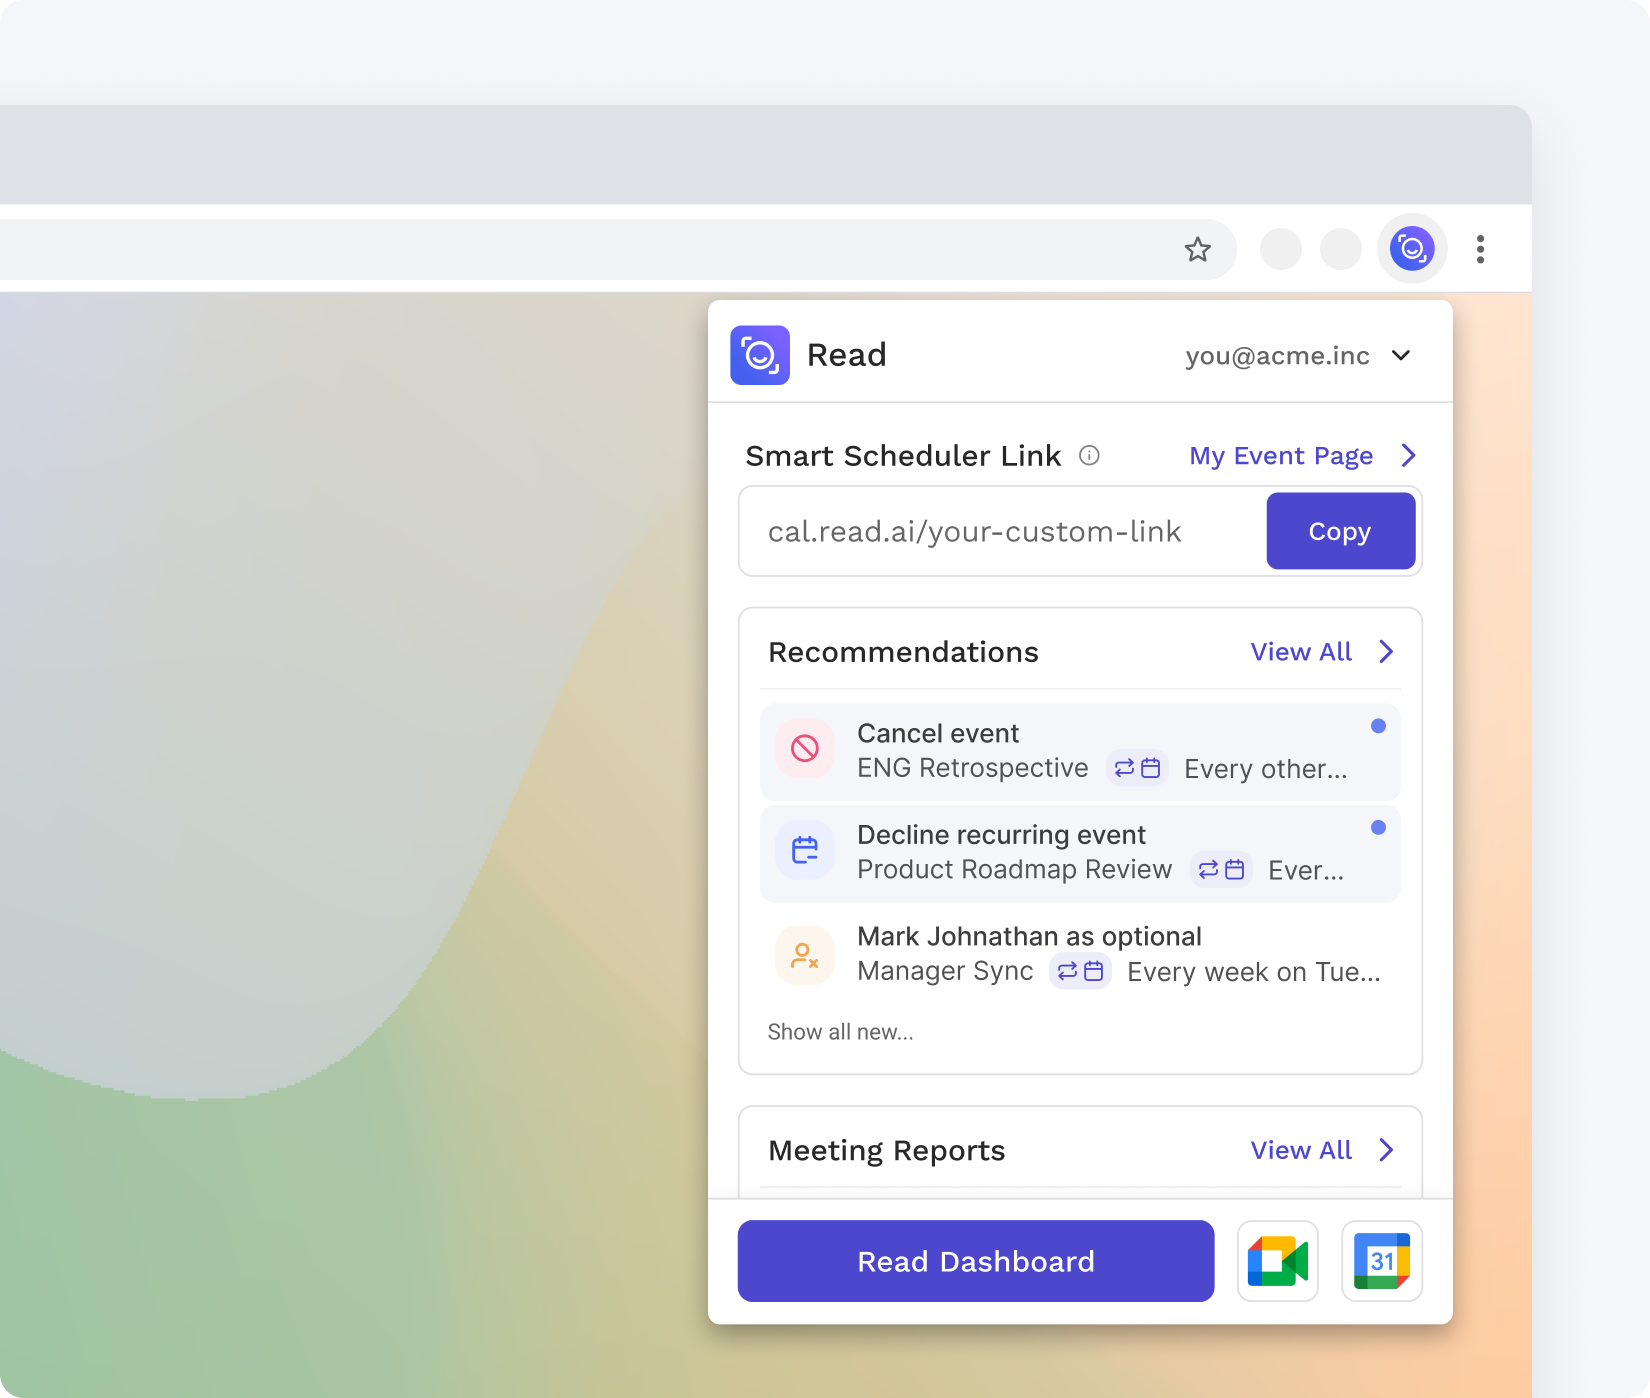
From the Calendar > Scheduling page, you can use the toggles under Default scheduling links to disable any of the default links for specific lengths. This makes those links unusable and also removes that meeting length as an option from the base link.
On the same page, under Custom scheduling links, click New custom link to create more links. Custom links don't expire. In the Create new custom link pop-up, you can configure each custom link with its own:
- Custom link name
- Meeting duration (15, 30, 45, 60 or 90 minutes)
- Conferencing platform
- Allow scheduling: how far in the future someone can schedule a meeting (2 weeks to 6 months)
- Require minimum notice for scheduling: whether or not to require the minimum notice (set on Account Settings > Smart Scheduler)
Click Save custom link to create it. To change or remove a custom link later, click the ⋯ menu on its row and choose Edit custom link or Delete custom link. To turn a link off temporarily instead of deleting it, use its toggle.
Tip: If you use Ada, Ada can also handle scheduling for you over email. See Ada - Scheduling.
Related Articles